|
Hello folks, and welcome to my third model on
ARC. This is an OOB project featuring Academy's Hurricane. No additional
aftermarket stuff was used to detail this kit.
Making the
kit:
The kit goes together
for quite a large part. These were the problems I encountered: 1. The landing
gear is too thin and brittle, and would tend to snap near the wheels if a little
bit of force is applied at the time of assembly (go ahead, ask me how I know
this :)!. 2. There is a noticeable step that appears either on the left side or
the right side at the join of the wing roots. This has to be remedied by
applying filler or using sprue as a filler. The canopy area was masked off
with due diligence using 3M Scotch Magic tape.
Painting and
Weathering
In India, there is a brand
called Fevicryl, which is acrylic based, and is a combination of paint and white
glue. This stuff sticks well to most surfaces, and comes in a wide range of
colors, including metallic ones. I sprayed the model with a coat of gray primer
from a spray can, to ensure better adhesion of the paint. The paints themselves
were mixed up using FS paint chips from IPMS Stockholm as a reference and
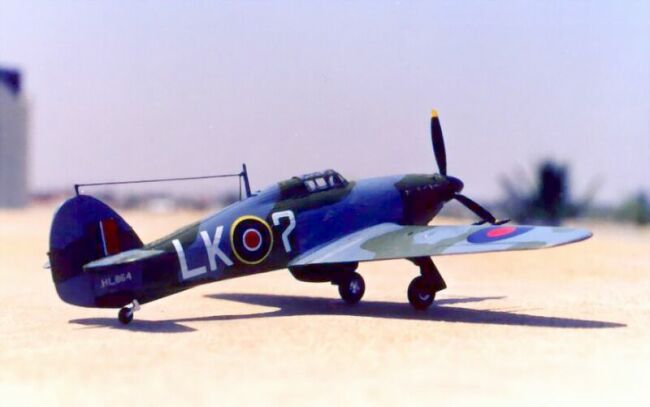
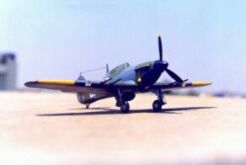
sprayed on using an airbrush. I used a combo of silver paint, grey and white to
get the color for the chipping on the port wing, since silver wouldn't look
correct at this scale. The undersides were sprayed matt black from a spray can,
and the wheel wells painted with Testors Silver as per kit painting
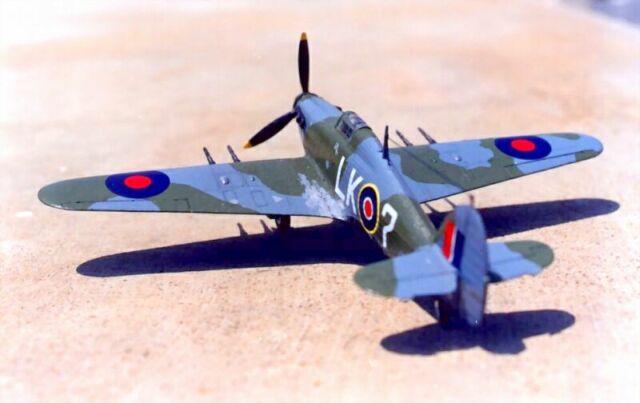
instructions. The yellow markings on the wing leading edges was done by masking
using 3M tape, cutting off the area to be painted, and painted using Testors
Yellow.
|
Click on images
below to see larger images |
|
|

|
After completing the
paint job, a coat of Future was sprayed as a precursor for decaling and washes.
I applied the decals, and followed it up with a black-gray wash using the sludge
technique. Another coat of Future followed, and this was topped off with a spray
of clear acrylic matt medium to get a matt finish. Seat belts were fashioned out
of masking tape and painted a tan color. After this, I whipped off the masking
on the canopy, to get the final painted canopy. This along with other clear
parts (on the wings) was finally glued on with Testors Clear Liquid adhesive.
The wheels and undercarriage also went on next.
Winding up:
Finally, the antenna wires were
made by heating a scrap sprue stick over a candle flame, and drawn out into the
necessary length. I did this about 3-4 times till I got it right. I then drilled
a hole through the forward antenna holder behind the canopy with a 0.25mm drill
bit, inserted the wire through it, and used CA glue to get a tight hold. Then I
pulled the wire taut over the holder on the tail fin. and applied a tiny bead of
CA glue to get a taut wire. The vertical drop down wire was done in a similar
way by drilling a hole on the fuselage, sticking wire through it, gluing it in
place, and positioning the other end on the horizontal wire. Again, using some
more CA, I applied it using a toothpick at the junction, and waited for it to
dry. The wires were then painted black.
Photography was done outside on a
clear day, with my Nikon SLR set at f-8 and shutter speed at 125 mounted on a
tripod. The results turned out to be slightly overexposed, and were corrected in
Photoshop.
Hope you enjoyed my model as much
as I did making it!
Take care, and carry on modelling
;-)...
Shekar
|
Click on images
below to see larger images |
|
|
|
|
|
|