|
In 1937 Doctor Alexander Lippisch
assumed the leadership of a design team developing the RLM's Projekt X, which
was eventually to become the Me 163 rocket-powered interceptor. Five years later
he left the project, just as the first Komet production prototypes were being
completed, to lead another research team consisting of students of aircraft
construction from Darmstadt and Munich universities. Working with the help of
the DFS on a program intended to lead to the development of a fast interceptor,
Lippisch and the students produced a series of revolutionary aircraft,
designated with a DM prefix in recognition of the two universities.
The first design to come
from the team was the DM-1, which was found in an incomplete state at the end of
the war by the Americans. Construction work had started on the DM-1 flying test
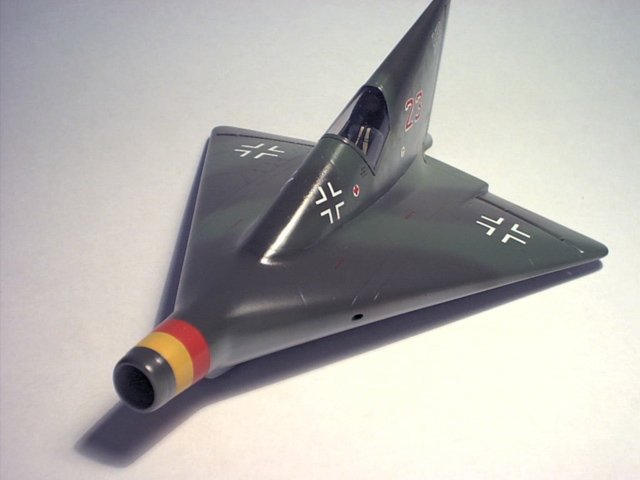
bed in November 1944. A pure delta with 60° swept leading edges, it was to be
used initially as a glider to investigate flight characteristics. Fin and rudder
shape mirrored that of the wings, and the pilot was accommodated in a cockpit at
the base of the fin.
It was originally
intended to carry the DM-1 on the back of a Siebel Si 204 to a height of 25,900
ft (7,900 m),), from which it would dive to an anticipated speed of 348 mph (560
km/hr). At a later stage the DM- 1 was to be flown at a speed of 497 mph (800
km/hr) under the power of a rocket motor. At the other end of the speed range,
the aerodynamic characteristics of this little single-seat aircraft were such
that a landing speed of only 44 mph (70 km/hr) was expected. The Americans
shipped the prototype back to the USA for completion and flight testing, and the
resulting data were incorporated into the design of the many US delta-wing
aircraft which appeared in subsequent years, such as the F-102 and F-104.
© Copyright Flying
Wings an Anthology
The Kit:
Revell Germany has a few late war Luftwaffe Aircraft on the market, and this is
one of the most interesting looking one of them all. There is not much to
the kit, in fact there are just two sprues which includes the trailer for the
aircraft. The kit can be built in a day if time permits and most of the
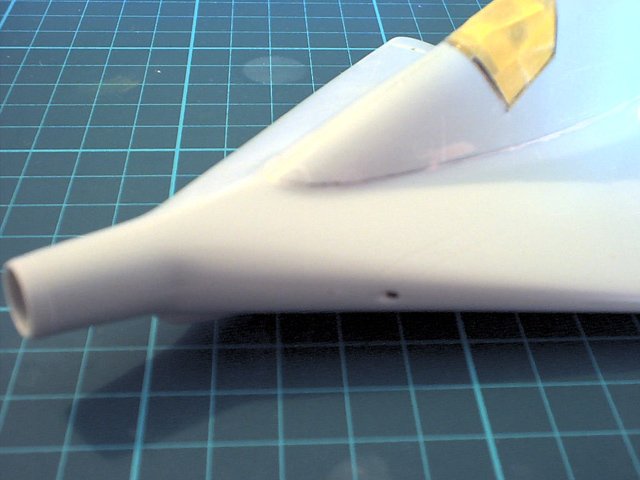
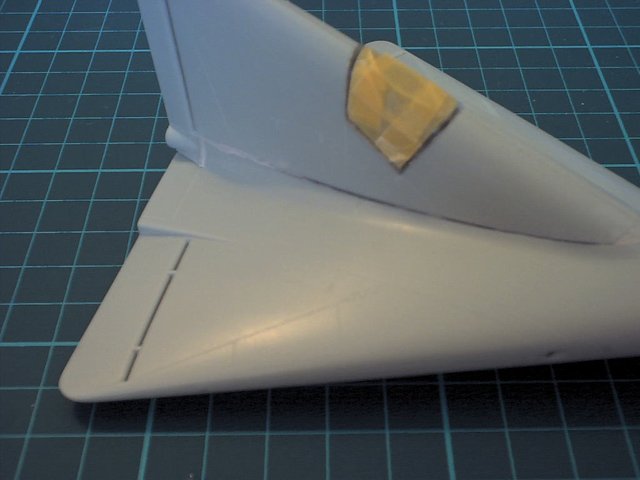
time was spent smoothing out the seems along the wings and fuselage. I
ended up adding some details to the interior which included a couple of wiring
harnesses, some straps for the rudder pedals, and a dashboard from an old kit,
which I sanded to the shape of the fuselage. Once all was painted I glued
the fuselage halves together. I place a piece of cardboard behind the rear
exhaust to block the view through the model. It would be great if the kit
provide an engine and the cowling could be displayed in the open position.
When the the wings and the fuselage were mated together, I filled any gaps that
were noticeable with a bit of Revell grey filler and some Mr. Surfacer 500 and
sanded everything as smooth as I could using various finger nail files.
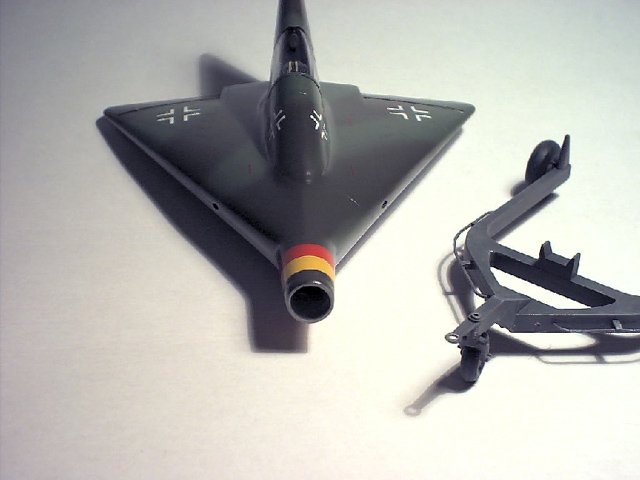
The trailer was the final build of the kit, three wheels and the frame, not
difficult but did require some filing around the frame to remove flash which
runs all the way around it.
Paint and Decals:
I chose to paint and decal the kit in the Reich defense colors of JG 301,
which will look nice next to my Ta 152H-1. I started by masking the canopy then
I proceeded by painting all of the panel lines with RLM 66. Once all were
dry I sprayed the undersurface as well as portions of the tail and fuselage with
RLM 76. I went light carefully covering all the panels and allowing the
panel lines to show though. Once the RLM 76 was dry, I followed the
instructions and painted the RLM 82 Light Green camouflage and then the RLM 81
Braun Violet. I allowed the paint to dry over night and masked the the
nose of the plane with Tamiya masking tape so that I could paint the Reich
Defense Band. The first color was RLM 04 Yellow and when that was dry RLM
23 Red. The kit was left to dry over night and then sprayed with three
coats of Johnson's Shine
Magic and allowed to sit for a couple of hours. I decaled the kit and
realized that even with a smooth surface and the use of setting solutions the
decals were still looking a bit as if they were silvering. But I found out
that it wasn't so much the silvering due to trapped air under the decal but due
to the film of the decals being very matte. Once all the decals were on I
allowed them to dry over night and a final three coats of the Shine Magic was
applied. This time the decal film disappeared. The trailer was
painted RLM 66 and dry-brushed using matt white and field grey, followed with
some scratches of silver pen and rust stains from pastels.
Final Notes: The
kit is very basic but interesting, it is more of a conversation piece then
anything else. It is one of the most peculiar planes ever designed.
References:
For more information about this plane and other concept aircrafts visit Dan
Johnson's web site Luft
'46 or The Planes That
Never Flew.
Anthony
(click on
the image below to load the full size photo)
(use your
back button to return to this page after viewing full size photo)
|